


Whether we end up using a technically correct colour balance in our final edit is one matter; starting our photographic editing with a technically correct colour balance within our image file is another.
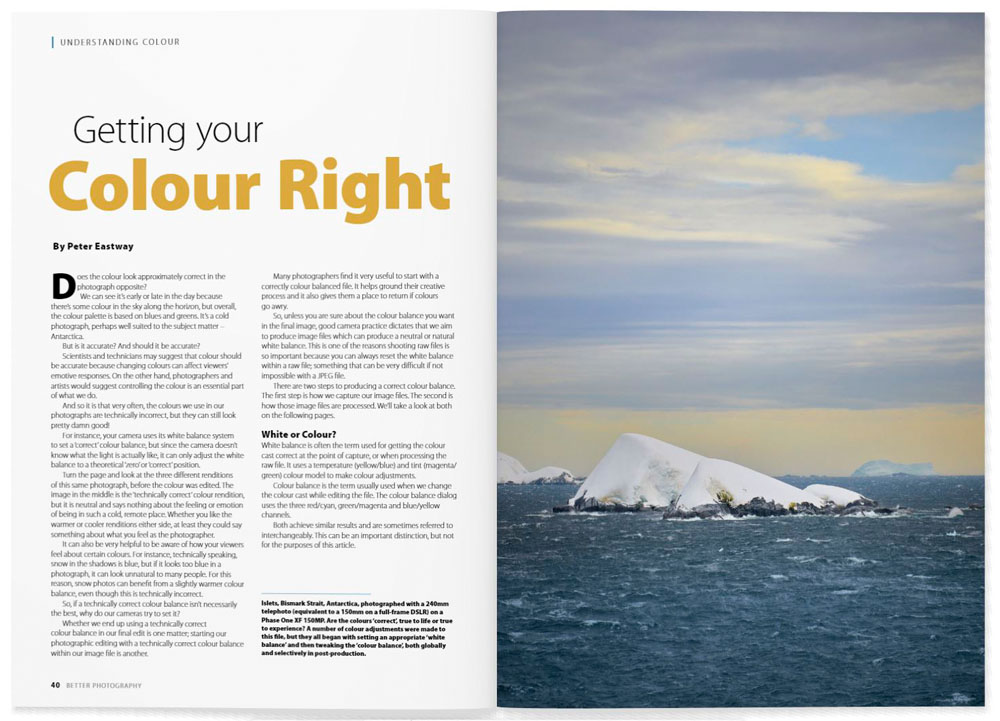
Many photographers find it very useful to start with a correctly colour balanced file. It helps ground their creative process and it also gives them a place to return if colours go awry.
In the current issue of Better Photography, we explain several ways you can ensure you obtain correct colour.
For instance, what happens if you can’t find a neutral subject in your scene or nearby with which to set the correct colour balance? To solve this problem, many professionals use a grey card or a colour chart which they place into the scene. They take a test shot, and then remove it for the rest of the shoot (or the rest of the shoot under the same lighting conditions).
Next, when processing the raw files, they have a neutral subject in the frame which can be used to determine a neutral white balance setting, using the white balance picker in their raw software.
This approach works very well in a controlled situation where you can take multiple images of the one subject, but it might not work for street or travel photography when your first shot might be your only shot. It can also be problematic if you’re standing on the edge of a cliff and you can’t place a grey card into the scene!
Fortunately, there are three more approaches you can take when out in the field, plus we explain how to set the correct colour balance using the white balance tool in post-production.
This is just one of several articles in the current issue discussing colour. This one covers the technical side, the others look at their application in a more creative vein. Why not subscribe now and read them all?